


Alat cek gula darah
,
cek asam urat
,
Cek Gula darah
,
cek kolestrol
,
nesco
,
nesco multicheck
,
Nesco Multicheck 3in1
,
Nesco Multicheck 3in1 Multi Function Monitoring System
A Complete Guide to Checking Blood Sugar, Cholesterol, and Uric Acid at Home
Complete Guide to Using Nesco Multicheck 3in1: How to Test Blood Sugar, Cholesterol & Uric Acid at Home
Self-monitoring your health is now much easier with the Nesco Multicheck 3-in-1 Multi-Function Monitoring System. This portable device allows you to measure blood glucose (G), total cholesterol (C), and uric acid (UA) in one device. It's convenient for home use, accurate, and suitable for routine monitoring.
Getting to know Nesco Multicheck 3in1
Nesco Multicheck 3in1 is a digital health test tool that combines 3 important types of measurements:
- Glucose (Blood Sugar)
- Cholesterol (Total Cholesterol)
- Uric Acid
This tool is very suitable for use by:
- Diabetes sufferers
- High cholesterol
- Uric acid (gout)
- Elderly
- Users who need regular health monitoring
With 1 tool for 3 tests, users can save costs and time without having to go to the laboratory every time.
Nesco 3in1 Color Test Strip & Chip Code
Each test type has a different test strip and chip code. The strip color ensures users don't use the wrong strip.
Why is Chip Code Important?
- Ensure the strip reading device is of the correct type
- Prevent calibration errors
- Produce more accurate data
When is the Chip Code Installed?
- Only when opening a new strip bottle
- If you are still using strips from the same bottle → no need to reinstall them
Nesco Multicheck 3in1 Package Contents
- 1 unit of Nesco 3in1 tool
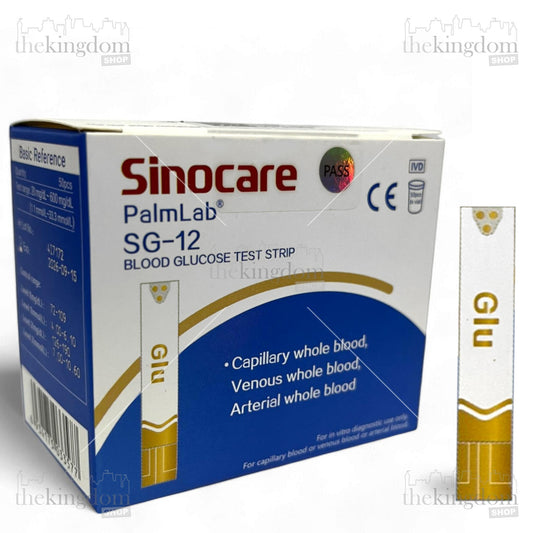
- 10 Glucose Strips
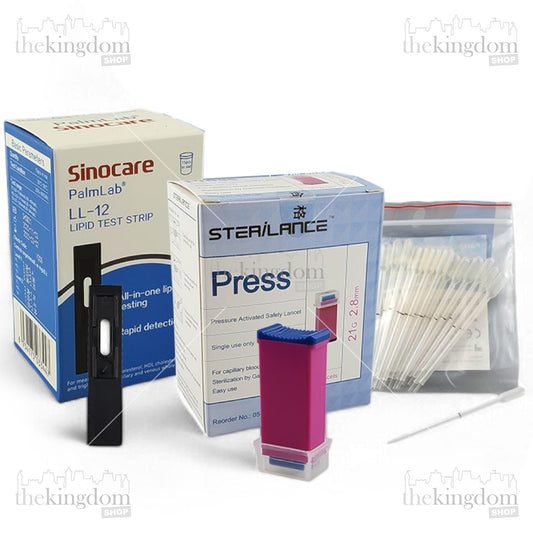
- 2 Cholesterol Strips
- 10 Uric Acid Strips
- Chip code (green, blue, yellow)
- Lancet pen + lancet needle
- Check strip
- Storage bag
- 2 AAA batteries
- Manual book
- Log book
How to Use a Lancing Device
-
Install the lancet : open the lancing device cap, insert the lancet, remove the needle protector, replace the cap.
-
Adjust the puncture depth according to the thickness of the skin (level 1–5).
-
Prepare your fingers : wash your hands, dry them, choose the side of your finger.
-
Perform a prick : attach the device to the side of the finger, press the button to take a sample.
-
Take blood : discard the first drop, use the second drop for the test strip (Green - Glucose, Blue - Cholesterol, Yellow - Uric Acid).
-
Afterwards : press the puncture area, throw the lancet into the sharps bin.
Measurement Method Based on Test Type
Below is the most comprehensive guide that combines the differences between strips, chip codes, colors, and test steps.
How to Measure Blood Sugar (Glucose – Green Strip)
- Check the similarity of the Chip code with the code on the strip bottle.
- Prepare the Green Strip & Chip Code
- Take the green strip
- Insert the green code chip (1 code chip for all test strips in the same tube)
- Make sure the code on the screen matches the chip.
- Insert Strip
- Enter the green strip
- Wait until the tool displays the chip code.
- The tool is ready to use
- Take a Blood Sample
- Prick your finger using a lancet
- Place a drop of blood on the end of the strip.
- The strip will suck the blood automatically
- Wait for the results in ±10 seconds of calculation
- Blood sugar results appear in mg/dL.
How to Measure Cholesterol (Cholesterol – Blue Strip)
- Check the similarity of the Chip code with the code on the strip bottle.
- Prepare the Blue Strip & Chip Code
- Take the blue strip
- Insert the blue code chip (1 code chip for all test strips in the same tube)
- Make sure the code on the screen matches the chip.
- Insert Strip
- Insert the blue strip
- Wait until the tool displays the chip code.
- The tool is ready to use
- Take a Blood Sample
- Prick your finger using a lancet
- Place a drop of blood on the end of the strip.
- The strip will suck the blood automatically
- Wait for the results in ±15 seconds of calculation
- Blood sugar results appear in mg/dL.
How to Measure Uric Acid (Yellow Strip)
- Check the similarity of the Chip code with the code on the strip bottle.
- Prepare the yellow Strip & Chip Code
- Take the yellow strip
- Insert the yellow code chip (1 code chip for all test strips in the same tube)
- Make sure the code on the screen matches the chip.
- Insert Strip
- Insert the yellow strip
- Wait until the tool displays the chip code.
- The tool is ready to use
- Take a Blood Sample
- Prick your finger using a lancet
- Place a drop of blood on the end of the strip.
- The strip will suck the blood automatically
- Wait for the results in ±20 seconds of calculation
- Blood sugar results appear in mg/dL.
View & Save Results
Nesco 3in1 has internal memory:
- Glucose: 200 data results
- Gout: 200 data results
- Cholesterol: 50 data results
Users can review previous results and record them in a log book for long-term monitoring.
How to Care for Tools for Accuracy
- Store the tool in a cool & dry place
- Do not expose to direct sunlight
- Keep away from moisture
- Use check strips regularly
- Do not wash the tool with water
- Use strips that have not expired.
- Remove the battery if rarely used
Important Tips for More Accurate Test Results
- Make sure your hands are clean and dry before the test.
- Do not take samples from oily/wet hands.
- Don't squeeze your finger too hard (it can thin the blood)
- Use a disposable lancet
- Always match the chip code + the corresponding color strip
- Take the test while you are resting, not after strenuous exercise.
Conclusion
The Nesco Multicheck 3-in-1 is a practical tool for monitoring blood sugar, cholesterol, and uric acid at home. By following the steps above, especially selecting the correct strip color and chip code, your measurements will be more accurate and consistent. If you're looking for a product with all the features mentioned above, find it here .
Tags: